
How to visualize your trade show booth? Tools and inspirations
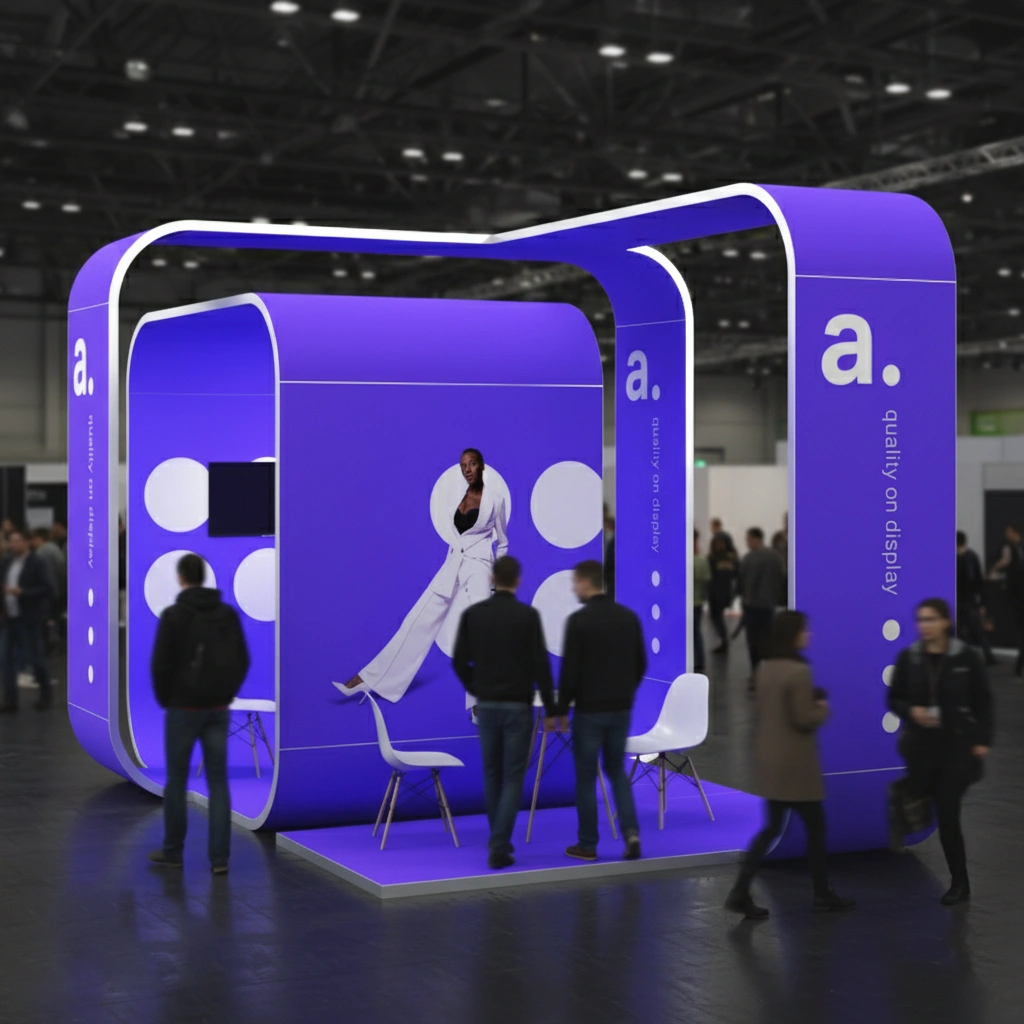
Before we even start thinking about booth visualization, it’s worth clearly defining the goal. Are we going to showcase a product or an entire series? Focus on building brand awareness? Or maybe prioritize meetings with clients? Sometimes all three goals come together – in that case, it’s important to set priorities. They will determine how we divide the space into zones, what will be in the spotlight, and what will serve as the background.
Where to look for inspiration?
Once we know what we’re taking to the trade show, it’s time to search for inspiration. A good starting point is to review photos and reports from previous editions of the same event. This way, we can see both solutions that make a great impression and those better avoided – especially since our direct competitors are often there too.
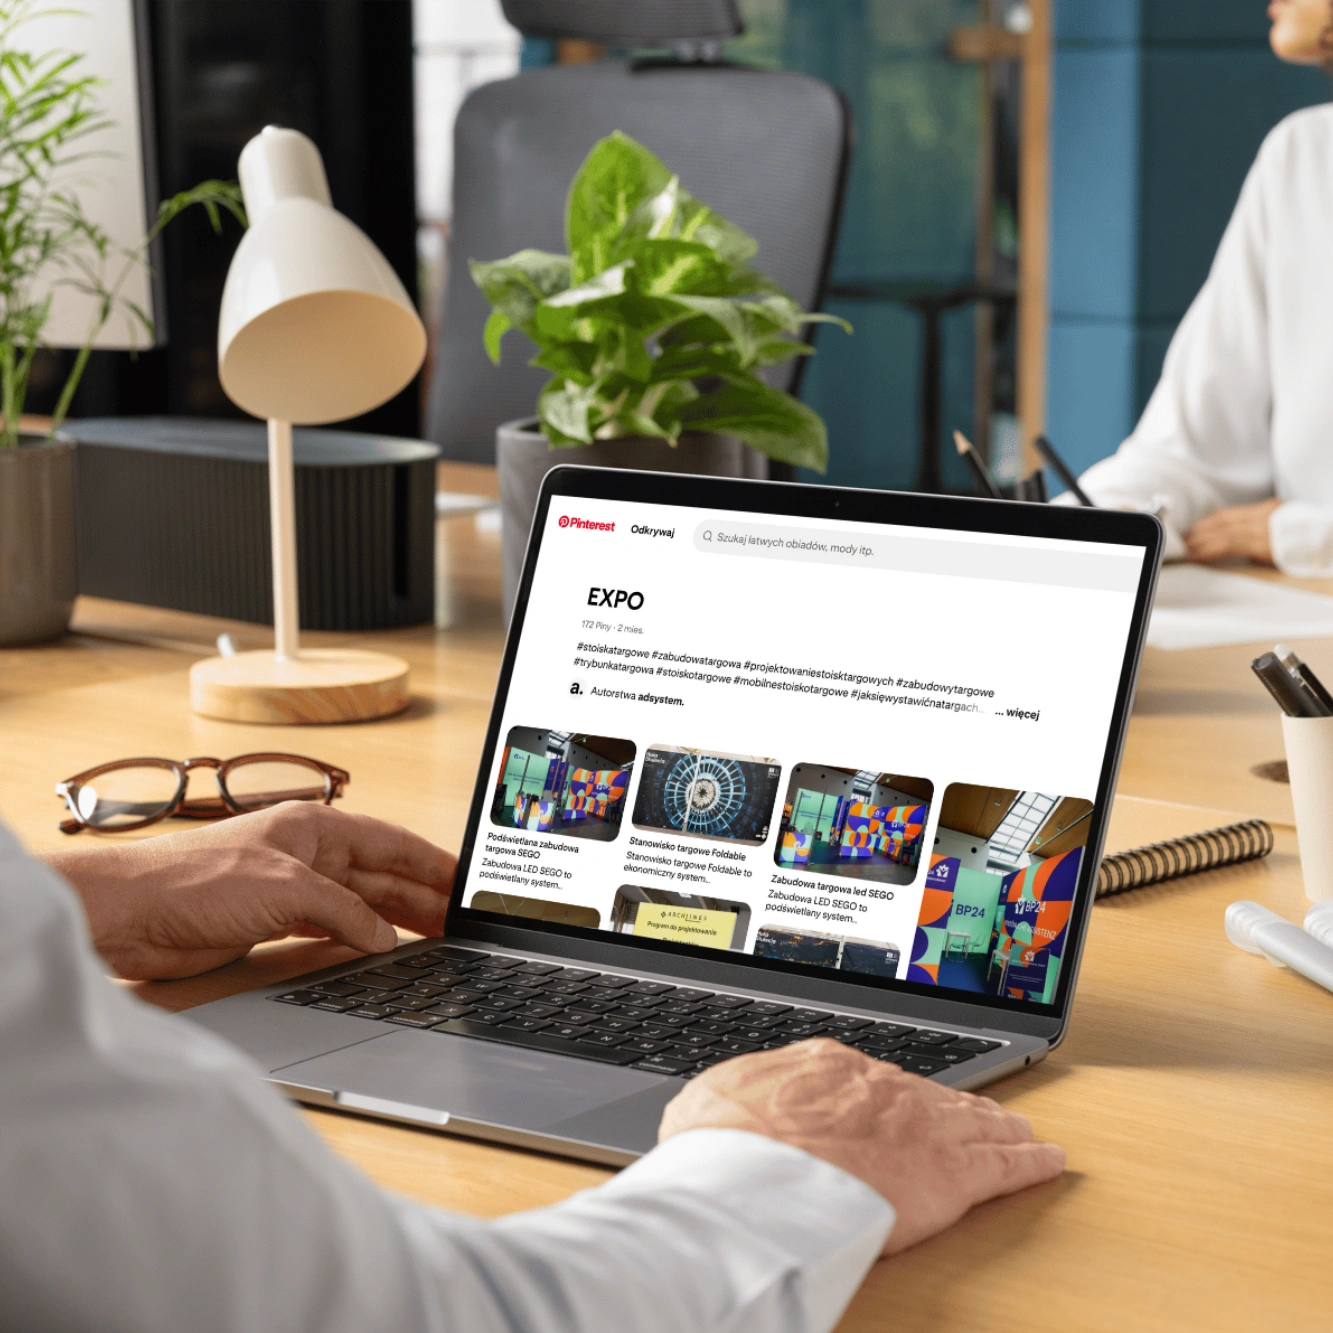
Pinterest – a true treasure trove of booth ideas
On Pinterest, you’ll find both general concepts and photos of completed projects – from simple layouts to large, complex arrangements. It’s a great source if you want to see how others present their products, which solutions catch the eye, or how to creatively arrange even a small space. On the official adsystem.pl website, we also share our projects – you can find them on our Pinterest profile, linked at the bottom of each product page in the Inspirations section.
Behance – a more advanced tool
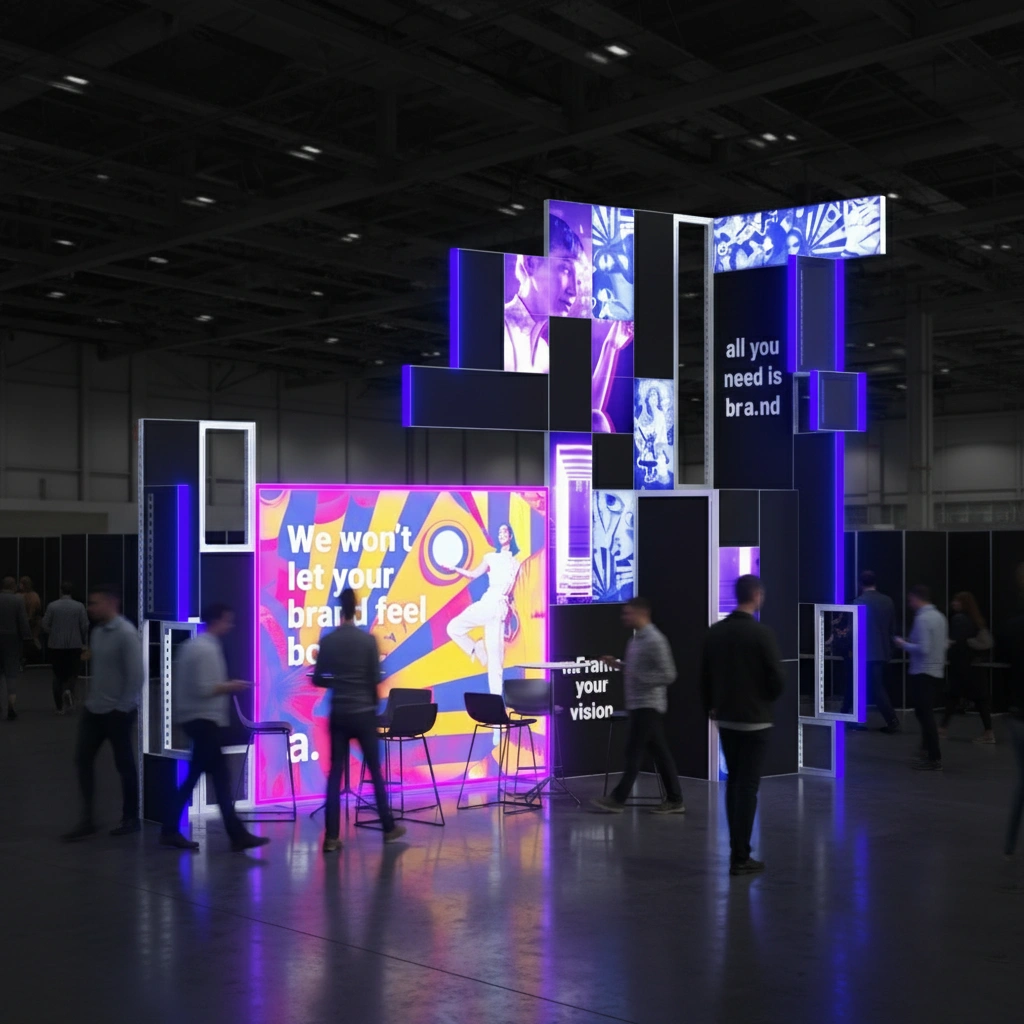
Behance is full of highly conceptual projects, often bold and requiring large budgets. You’ll see ideas based on new technologies, unusual materials, or costly overhead structures. They aren’t always solutions you can implement right away, but they’re excellent for sparking imagination and can inspire your own, more accessible booth designs.
LinkedIn – first-hand inspiration
On LinkedIn, design companies and exhibitors eagerly share their booths and case studies. It’s a good place to see what competitors are doing and what works in practice. We also regularly post our projects there, making it easy to find examples that may inspire your own booth planning.
To keep track of collected ideas, it’s useful to prepare a moodboard – a digital board where you pin images, colors, layouts, and solutions that inspire you. It’s a practical reference you can return to throughout the design process.
Tools that help you see the result
Professional 3D design offers endless possibilities, but you don’t always have to start with advanced visualizations. For basic needs, simple and accessible tools work well:
At adsystem, we also offer the possibility to use 2D previews and AR visualizations of files on products. In practice, this means that after uploading your file, you can quickly see how the graphic looks on a wall, counter, or lightbox in a flat 2D version – and then take it further into augmented reality (AR). With AR, you simply scan a code to check, within seconds, how a wall, counter, or lightbox will look in your actual space. AR, or augmented reality, shows your real surroundings through your phone or tablet, with virtual booth elements overlaid. It’s a convenient way to evaluate the effect before placing an order and ensure the product fits into your planned layout.
How to use AR step by step?
2D preview – a quick look at your graphic
The 2D preview is a simple test – upload your file and instantly see how the graphic is placed on the product. There are no 3D effects or AR elements, but in just a few seconds you’ll know if the logo is too low, if the text runs into the edge, or if everything looks as planned. It’s the easiest way to catch potential mistakes before moving forward with a full visualization.
Modular solutions – flexibility in practice
Visualization is one thing, but when planning a booth, it’s worth thinking about future changes too. This is where the mFrame system works perfectly – a modular solution that offers full design freedom. The same base can be used to build simple walls, curved layouts, illuminated structures, or even digital elements. This way, one booth can be easily adapted to different events and spaces.
If you want a stronger effect, you can add freestanding lightboxes, which serve as the booth’s focal point and immediately draw visitors’ eyes. Increasingly, immersive elements also appear in booth designs – for example, infokiosks or the adVideo Stand 32”, which not only catch attention but also make it easier to interact with visitors.
The booth’s first life – virtual
Booth visualization starts with defining goals and priorities and ends with choosing tools and modules that allow the design to adapt to different events. Inspirations from the internet, simple mockup programs, and our AR solutions make it possible to see how the booth will look in reality at a very early stage. This helps with planning, keeps everything consistent, and gives greater confidence that the trade show space will attract visitors’ attention.
- Trade show stands
 From the first phone call to a finished booth. Discover how trade show booth construction works
A trade show booth is not created overnight and rarely starts with a ready design. It’s a multi-stage process that includes everything from the first conversation, through planning and design, to production, logistics, and installation. Understanding this path makes it easier to plan your activities, avoid unnecessary rush, and make informed decisions at every stage. If you’re planning to take part in a trade show and want to go through this process calmly, get in touch with us and plan your booth well in advance.
- Trade show stands
 Exhibition Stand as a Brand Showroom – How to Show What We’re Really Capable Of
Trade fair and event halls are, for many brands, spaces for regular meetings with customers. This is where they present their offer, talk, and build relationships. In this context, a stand does not have to be just a structure prepared for a single event. It can take on the role of a brand showroom – a cohesive, well-crafted space designed to work over a longer period of time.
- Trade show stands
- Trade show stands
 How to visualize your trade show booth? Tools and inspirations
Before we even start thinking about booth visualization, it’s worth clearly defining the goal. Are we going to showcase a product or an entire series? Focus on building brand awareness? Or maybe prioritize meetings with clients? Sometimes all three goals come together – in that case, it’s important to set priorities. They will determine how we divide the space into zones, what will be in the spotlight, and what will serve as the background.
- Trade show stands
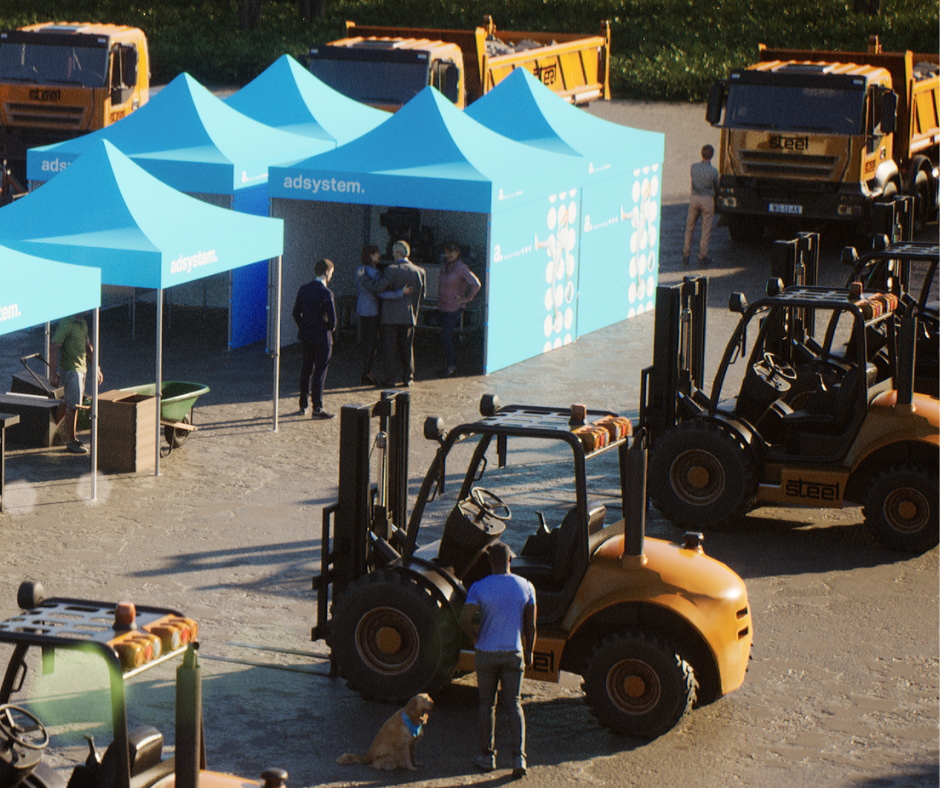 Your harvest from agricultural trade fairs – it’s up to you what it will be
Agricultural trade fairs are the moment when the entire industry comes together in one place. It’s where you can discover the latest solutions from around the world, talk to manufacturers, distributors, and other participants, and present your own offer. These events are not only about showcasing equipment but also about exchanging experiences and building connections that can pay off in the future.